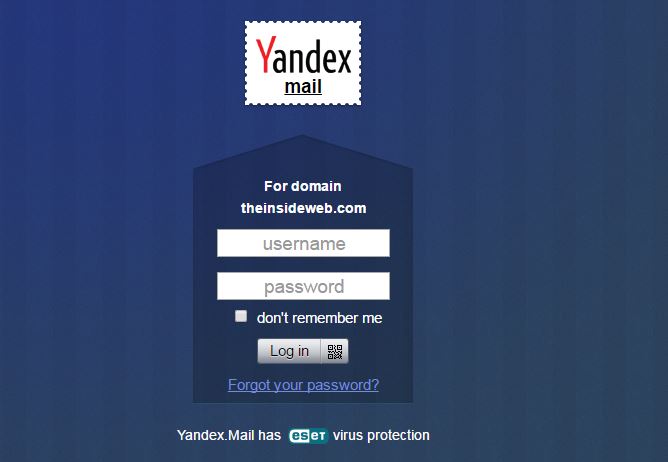
After Google stopped offering free email for domain there are very few options in the market for best and reliable email services. If you own a domain than it’s always a best idea to create email id for your domain specific email address like [email protected] or [email protected], as it doesn’t only appeals good to your customers; it also looks more authentic and adds more credibility.
In this guide I’ll show you how you can use Yandex email services to create email address for your domain. Google and Outlook used to offer free email for domains before but now they have stopped offering. So who’ve just started or whose budget is not much that they can afford to get paid email address, Yandex email is for you and is best alternative to google apps.
Most probably, I believe you may all know about Yandex, if not than inshort; It’s google of Russia and provide almost similar services.
How to create a personalized email address with your own domain:
- Visit domain.yandex.com and enter your domain name to link with your domain.
Note:For this step you should already have email account with Yandex. If you don’t have email id at yandex than please register/create account by visiting Yandex Mail.

2. Next step is to verify the domain ownership. There are three ways you can verify domain ownership, like uploading .html file to your root directory of domain or adding CNAME record or adding email address created by Yandex to your domain registrar in contact information.
Uploading .html file to root directory of your domain is the best and easiest way to verify the domain ownership.

In my case file name was f34b40f9cb02.html, so create .html file in notepad with text “eb7397212578” in it(in your case file name and text will be different) and upload to your domain’s root directory using ftp or user interface. After adding .html file click on Verify Domain Ownership button and wait for success message.
3. Next step is to add MX records in DNS records of your domain which will help Yandex to act as Mail server on behalf of your domain.
Type: MX (Mail Exchanger)
Host: @
Points to: mx.yandex.net
Priority: 10
TTL: 1Hour

You may need to wait for sometime, once the MX records are propagated you may start using your domain email. You can register up to 1000 email addresses for your domain users or customers.

One last thing don’t forgot add following txt record in your DNS records. It will help in verifying that Yandex is authorized to send email for your domain and emails won’t end up in spam folder.
Host: @
Type: TXT
Value: v=spf1 redirect=_
Moreover if you want to change email access url from mail.yandex.com to mail.domain.com than please create CNAME record with following details:
Host: mail
Type: CNAME
Points to: domain.mail.yandex.net
TTL: 1 day or Automatic
Please let us know if you created your personalized free email account with your domain and how it helped you.